Honeywell TH6220U2000 Installation Manual PDF: A Comprehensive Guide

This guide provides a detailed overview of the Honeywell TH6220U2000 thermostat installation process. It covers everything from initial setup to advanced configuration using the Honeywell Home app. The document also includes safety precautions, mounting instructions using the UWP system, and troubleshooting tips for a successful installation.
The Honeywell TH6220U2000, also known as the T6 Pro, is a programmable thermostat designed for ease of use and efficient home climate control. It features a large, clear display with soft-key controls, simplifying operation. This thermostat supports both heating and cooling systems, offering flexible programming options to suit various lifestyles; The UWP mounting system ensures straightforward installation, and the optional decorative cover plate allows for seamless integration into any home décor.
With its ability to control ambient air temperature and offer automatic or manual fan operation, the TH6220U2000 provides consistent comfort. Its compatibility with the Honeywell Home app facilitates advanced configuration, including setting minimum and maximum temperature points. This thermostat is an ideal choice for homeowners seeking a reliable and user-friendly solution for managing their home’s temperature.
Package Contents and Initial Inspection
Upon opening the Honeywell TH6220U2000 thermostat package, verify that all components are present. The package should include the T6 Pro Thermostat unit, the UWP (Universal Wall Plate) mounting system, and a decorative cover plate (optional). You should also find screws and anchors necessary for wall mounting, along with the installation manual itself.
Carefully inspect each item for any signs of damage incurred during shipping. Check the thermostat screen for cracks or scratches and ensure that the UWP mounting system is intact. Verify that the screws and anchors are of the correct type and quantity. If any components are missing or damaged, contact Honeywell customer support immediately for assistance. Proper inspection ensures a smooth and trouble-free installation process. Retain the packaging for potential returns or warranty claims.
Safety Precautions Before Installation
Prior to commencing the installation of the Honeywell TH6220U2000 thermostat, adhering to crucial safety precautions is paramount. Firstly, and most importantly, always disconnect power to the heating and cooling system at the breaker box or switch. This measure prevents electrical shock and potential damage to the equipment.
Exercise caution when handling wiring. If you are unfamiliar with electrical wiring, consult a qualified electrician. Ensure that all wiring conforms to local and national electrical codes. Avoid installing the thermostat in damp or wet locations to prevent short circuits or corrosion. Do not exceed the thermostat’s specified voltage and current ratings. Incorrect wiring or overloads can cause fire hazards or damage the thermostat. Always use appropriate tools and safety gear during the installation process, including insulated screwdrivers and safety glasses. By prioritizing safety, you can ensure a secure and successful installation.

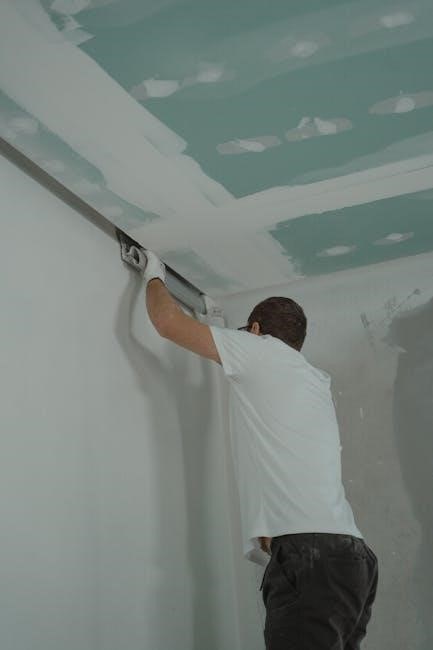
Mounting the Thermostat
Proper mounting is essential for optimal performance. Use the UWP mounting system for easy installation. Consider wall location for accurate temperature readings and follow procedures to ensure secure attachment and correct wiring connections before proceeding to thermostat setup.
Using the UWP Mounting System
The Honeywell TH6220U2000 thermostat utilizes the UWP (Universal Wall Plate) mounting system, designed for simplified and versatile installation. Before beginning, ensure power is off at the breaker. The UWP allows for easy detachment and reattachment of the thermostat for maintenance or battery replacement. Begin by separating the cover plate from the mounting plate.
Mount the mounting plate securely to the wall using the provided screws and anchors, utilizing any of the eight screw holes for optimal stability. The UWP system supports standard Honeywell installations and includes adapters, such as a J-box adapter, for various wall configurations. Ensure the mounting plate is level for accurate thermostat operation.
After the mounting plate is secured, attach the UWP by carefully aligning and hanging it onto the mounting plate. The UWP mounting system streamlines the wiring process, providing clearly labeled terminals for easy wire insertion and removal. This system is a key feature for quick and efficient thermostat installation.

Wall Mounting Procedure and Location Considerations
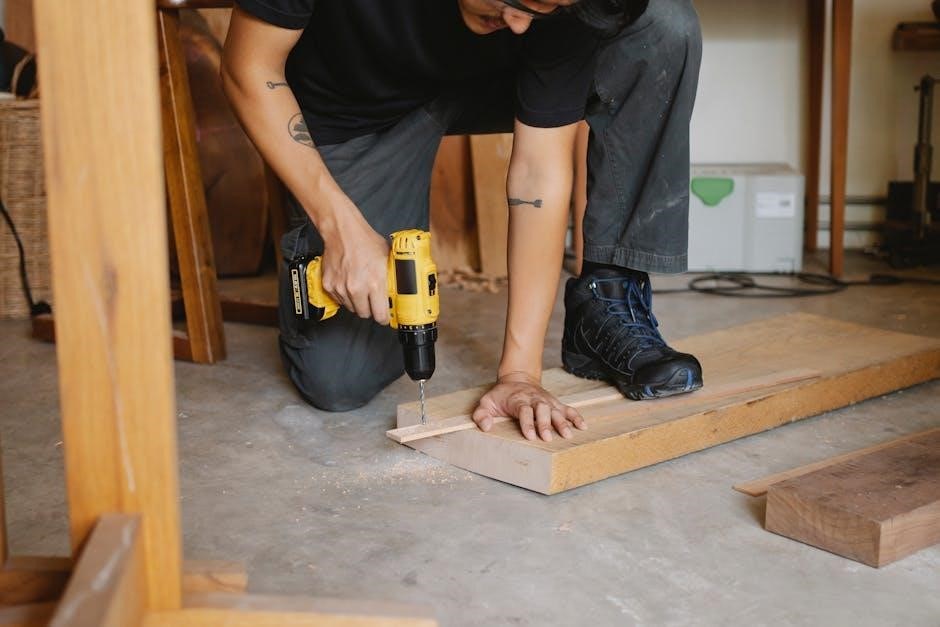
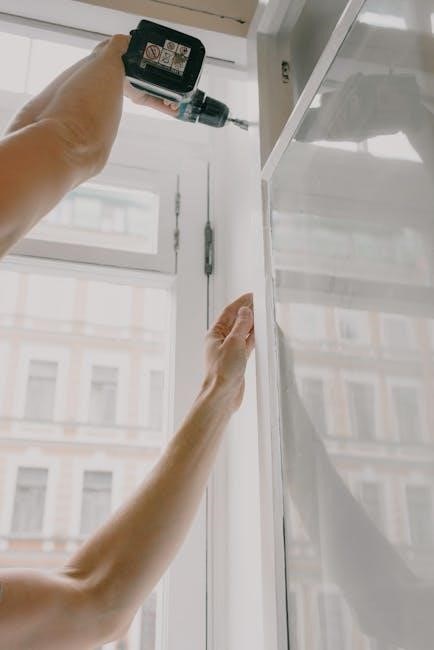
Proper wall mounting is crucial for optimal thermostat performance. Begin by selecting a suitable location approximately five feet (1.5 meters) above the floor in an area with good air circulation and average temperature. Avoid locations near heat sources, direct sunlight, or drafts, as these can affect temperature readings. Ensure the wall is free from obstructions and provides a solid surface for mounting.
Before drilling, use a level to mark the desired position. Utilize the UWP mounting plate as a template to mark the screw hole locations. Drill pilot holes if necessary, especially when mounting on drywall or plaster. Secure the mounting plate to the wall using the provided screws and anchors.
Consider using a decorative cover plate to conceal any existing wall damage or to enhance the aesthetic appeal. The Honeywell decorative cover plate is available separately. Ensure all wiring is properly connected before attaching the thermostat to the mounted UWP. Accurate placement guarantees reliable temperature control and user satisfaction.
Connecting Wiring
Before connecting any wires, ensure the power to the heating and cooling system is turned off at the breaker box or switch to prevent electrical shock. Identify the existing wiring configuration and consult the thermostat wiring diagram for compatibility.
Carefully connect the wires to the corresponding terminals on the UWP mounting system. The R and C wires are essential for primary AC power; while the C terminal is optional if batteries are installed, it’s highly recommended for consistent performance. Ensure each wire is securely inserted into its designated terminal.
To remove a wire, gently press down on the terminal release tab and pull the wire out. Double-check all connections to avoid loose wires or incorrect placements, which could lead to operational issues. Proper wiring is crucial for the thermostat to function correctly and maintain accurate temperature control. After wiring is complete, proceed with thermostat setup and configuration.
Setting Up the Thermostat
After mounting and wiring, begin the thermostat setup. This involves initial configuration, installer settings, and connecting to the Honeywell Home app for advanced options. Basic operation and programming can then be customized as needed.
Initial Configuration and Installer Setup
Once the Honeywell TH6220U2000 thermostat is physically installed, the next crucial step involves the initial configuration. This phase allows you to tailor the thermostat settings to your specific heating and cooling system, ensuring optimal performance and energy efficiency.
Begin by navigating through the thermostat’s menu using the soft key controls. You’ll be prompted to input essential information, such as the type of heating and cooling system you have (e.g., forced air, heat pump), the number of stages for both heating and cooling, and whether you have any auxiliary heat sources.
The installer setup menu provides access to advanced settings that fine-tune the thermostat’s behavior. Here, you can set minimum and maximum temperature setpoints for both heating and cooling, preventing extreme temperature fluctuations and conserving energy. You can also configure the cycle rate, which determines how frequently the thermostat turns on your heating or cooling equipment.
For a more streamlined approach, consider using the Honeywell Home app. This app offers a hidden PRO installation feature that simplifies the configuration process and unlocks additional customization options. Remember to insert the AA batteries for primary or backup power during this initial setup phase.
Using the Honeywell Home App for Advanced Configuration
The Honeywell Home app elevates the configuration of your TH6220U2000 thermostat, providing a user-friendly interface and a wealth of advanced options beyond the basic settings accessible directly on the device. This app streamlines the setup process and unlocks hidden PRO installation features.
To begin, download the Honeywell Home app from the App Store or Google Play. Once installed, create an account or log in if you already have one. The app will guide you through connecting your thermostat to your Wi-Fi network, enabling remote control and access to advanced features.
Within the app, you can fine-tune various parameters, such as setting custom schedules tailored to your daily routine. You can also adjust temperature setpoints remotely, monitor energy usage, and receive alerts for temperature changes or system malfunctions. The app also allows you to configure advanced settings like geofencing, which automatically adjusts the temperature based on your location.
Furthermore, the Honeywell Home app provides access to professional installer settings, allowing you to customize system parameters even further. This level of control ensures optimal performance and energy savings, perfectly adapting your thermostat to your specific needs and preferences.

Basic Operation and Programming
The Honeywell TH6220U2000 thermostat is designed for intuitive operation, allowing you to easily manage your home’s temperature. The large display and soft-key controls make navigating the thermostat’s functions straightforward. The thermostat offers both automatic and manual modes, catering to different user preferences.
In automatic mode, you can program a schedule that automatically adjusts the temperature based on the time of day and day of the week. This feature helps optimize energy consumption and ensures comfort throughout the day. You can set different temperature setpoints for various periods, such as waking, leaving, returning, and sleeping.
Manual mode allows you to override the programmed schedule and set a constant temperature. This is useful when you need to maintain a specific temperature for an extended period. The thermostat also features a temporary hold function, which allows you to temporarily adjust the temperature without affecting the programmed schedule.
To program the thermostat, use the soft-key controls to navigate the menu. You can easily set the time, date, and desired temperature setpoints. The thermostat also allows you to adjust the screen brightness and configure other basic settings to your liking. Understanding these basic operations will enable you to effectively manage your home’s climate.
Troubleshooting and Support
Encountering issues during or after the installation of your Honeywell TH6220U2000 thermostat is not uncommon, and this section aims to provide solutions to frequently faced problems. If the thermostat is not powering on, ensure that the power switch at the breaker box is on. Check the battery installation, making sure they are correctly inserted or consider using the optional C-wire for consistent power.
For connectivity problems with the Honeywell Home app, verify your Wi-Fi network is stable and that the app is updated to the latest version. Resetting the thermostat to its factory settings might resolve software-related issues. Refer to the manual for instructions on performing a factory reset.
If the thermostat is displaying incorrect temperature readings, ensure it is not installed in a location exposed to direct sunlight or drafts. Recalibrating the temperature sensor through the installer setup menu might improve accuracy.
For further assistance, consult the Honeywell support website for detailed FAQs, troubleshooting guides, and video tutorials. You can also contact Honeywell’s customer support team directly for personalized assistance. Make sure to have your thermostat model number and installation details ready when seeking support to expedite the troubleshooting process.